
GlassFish is an application server started by Sun Microsystems for Java Enterprise Edition which is now acquired by Oracle corporation. It is a free software that is released under two free software licenses. The one is common development and distribution license and the other is GNU general public license. Sun Microsystems launched the project in June 6, 2005. First version of the project was released on may 4, 2006. In this tutorial, we will install glassfish on our MacOS.
This includes several steps described below.
1) Download:
We have to first download the archived (zip) file of GlassFish server by visiting its official website http://www.oracle.com/technetwork/middleware/glassfish/downloads/ogs-3-1-1-downloads-439803.html.
2) Extract the file
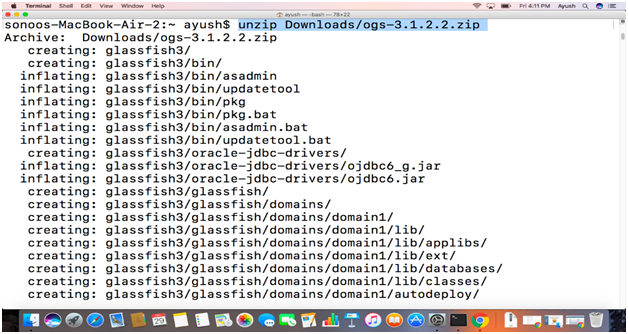
Following command is used to extract or unzip the archived file.

3) Start the domain
In order to access glassfish server on browser, we need to first start its service. asadmin is an executable file which needs to be executed in order to start the glassfish server. It is located inside the bin folder of glassfish directory. We need to first navigate to that location and then execute the command. Use the following command to change the directory.

4) Access the server on localhost
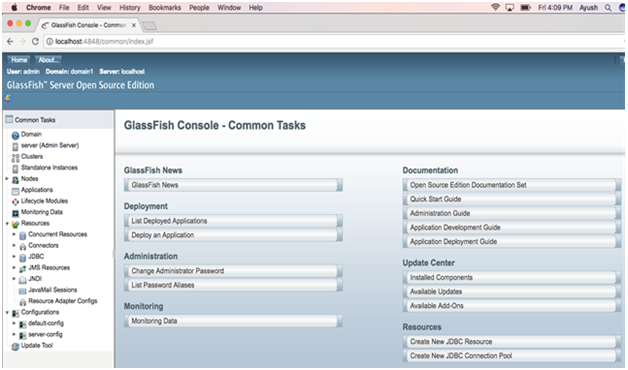
The glassfish server listens to port no. 4848 by default. We can access the server simply by typing localhost:4848 on the browser.
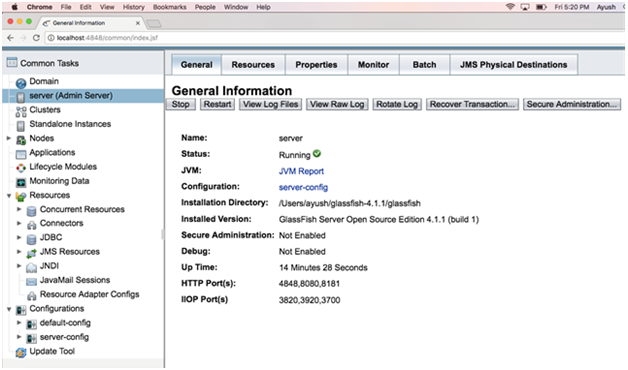
We can customize and use the server for many purposes, like this:


5) Stop the server
The following command needs to be executed to stop the server.

Hence, we have successfully installed and configured glassfish on MacOS.