

XAMPP is a free and open-source, cross-platform web server solution stack which is developed by Apache Friends. XAMPP supports most of the operating systems including Windows, MacOS and Ubuntu. It stands for Cross-Platform(X), Apache, MySQL, MariaDB, PHP and Perl which are also the main components of the stack package. In this tutorial, we will install XAMPP on MacOS.
Installation includes following steps.
1) Download the latest version
In order to install XAMPP on MacOS, we must download the latest version of XAMPP by visiting its official website or by pasting the link https://www.apachefriends.org/xampp-files/7.2.0/xampp-osx-7.2.0-0-installer.dmginto the browser's search bar.
2) Mount the dmg file
The downloaded file exists in disk image format which needs to be mounted to the Volumes directory. For this purpose, following command can be used.
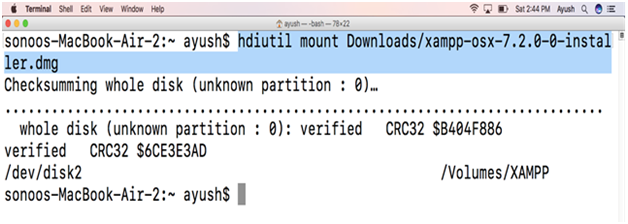
3) Open the Application file
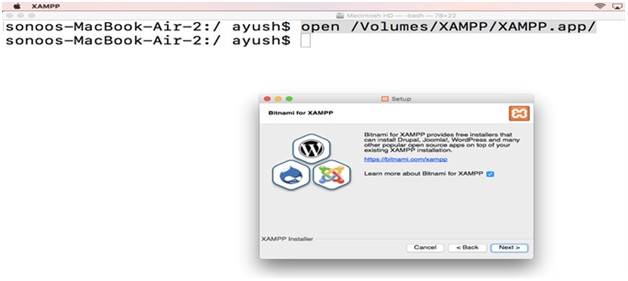
An application file is created inside /Volumes/XAMPP/. This needs to be opened by using following command.
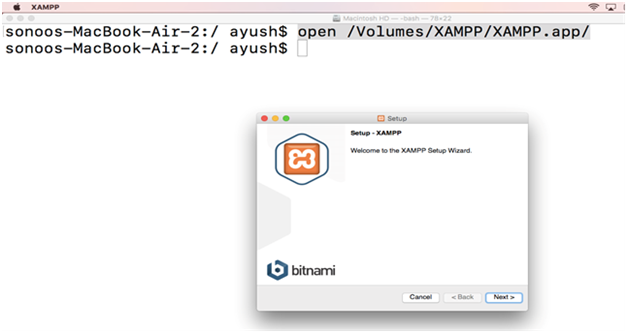
Click on Next button to navigate to the next step.
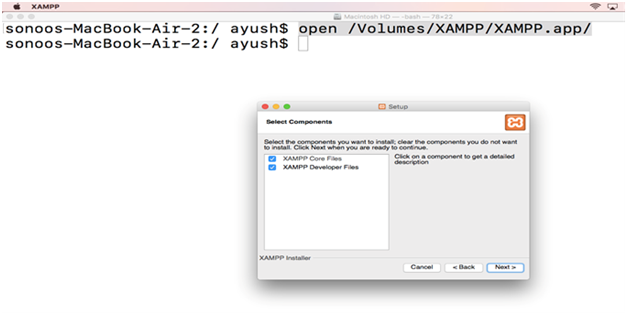
This step prompts us to select Components which we want to install. We select all the options given and click next
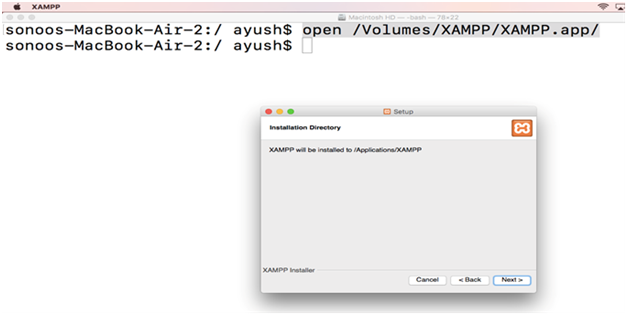
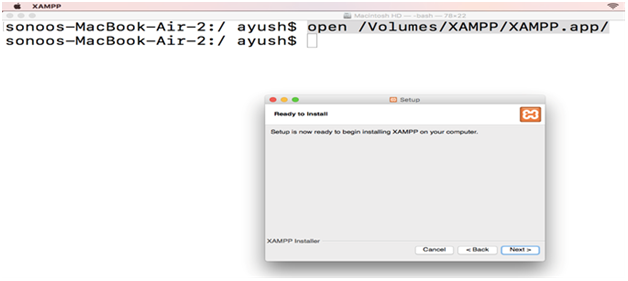
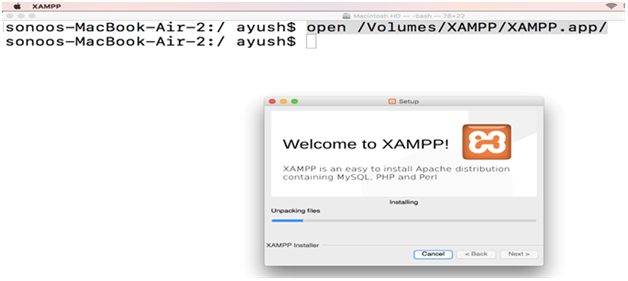
This step simply tells the location where XAMPP will be installed. Click on Next to continue the installation.
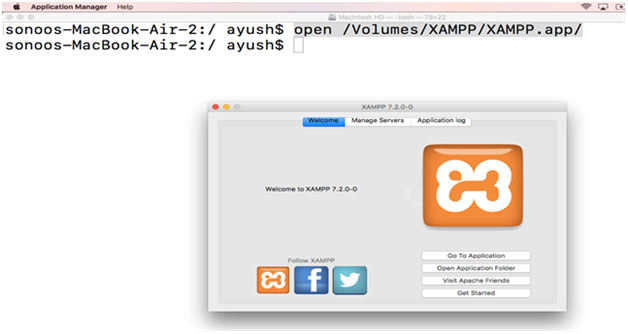
4) Unmount the file
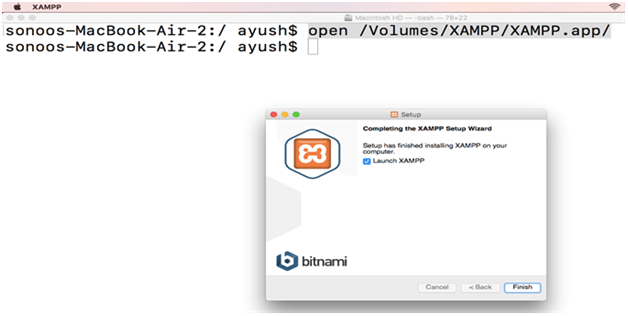
We got XAMPP installed on our system, now we need to unmount the installer. Following command can be used for this purpose.
An executable file named XAMPP is located inside /Applications/XAMPP/xamppfiles/ which needs to be executed in order to execute xampp on command line. Various commands can be used with xampp.
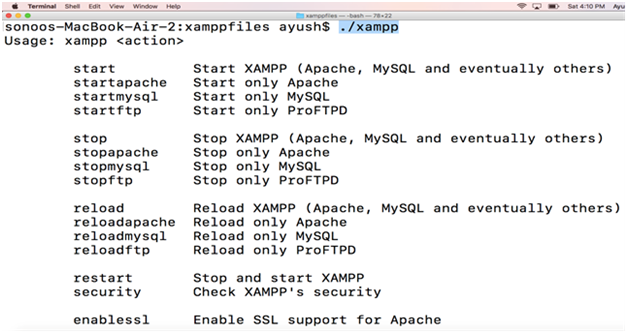
The output of the command shows the usage and options with which the command can be used.
Hence, we have installed and get started with XAMPP on our MacOS.