

WordPress is a free and opensource content management system based on PHP and MySQL. It has to be installed on a web server for the proper functioning. It is the most popular website management and blogging system present on the web.
As of February 2017, WordPress is used by 58.7 % websites whose content management system is known. In this tutorial, we will install WordPress on MacOS.
To install WordPress on MacOS, we need to perform following steps.
1) Download compressed file
Visit https://wordpress.org/latest.tar.gz and download the latest version of WordPress which is a compressed file.
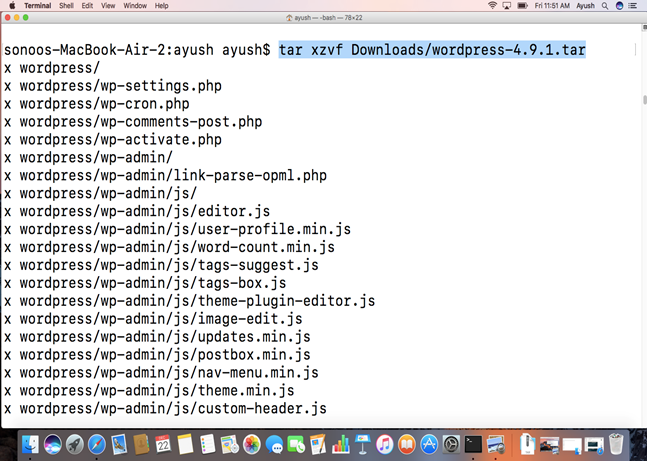
2) extract the file
The archived file can be extracted using tar command on terminal. A folder with the same name will be created which will represent all the necessary files in uncompressed format.
3) Create database
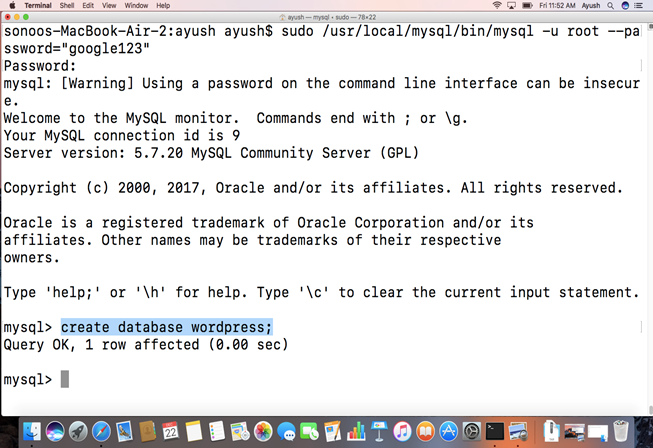
Start MySQL server and open the shell to create a database which will be used by WordPress.
4) Start the PHP development server
To start the server, a simple command is executed. For this, We have to change our directory to the WordPress home directory.
The command will start a PHP development server which is listening on the port 8080.

5) Access WordPress from Localhost
Type localhost:8080 on your browser's bar and it will appear like following.
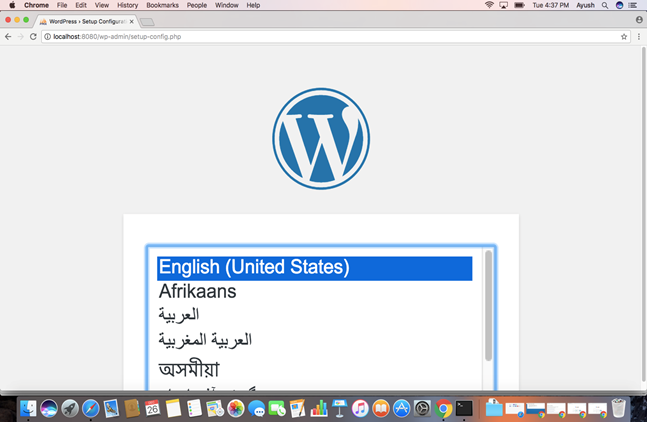
Choose the language and press Enter.
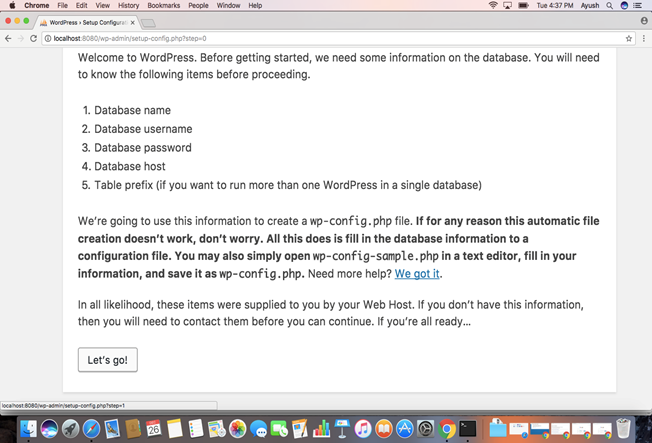
Click on let's go and the window will prompt to fill the database details such as database name, host address and password.
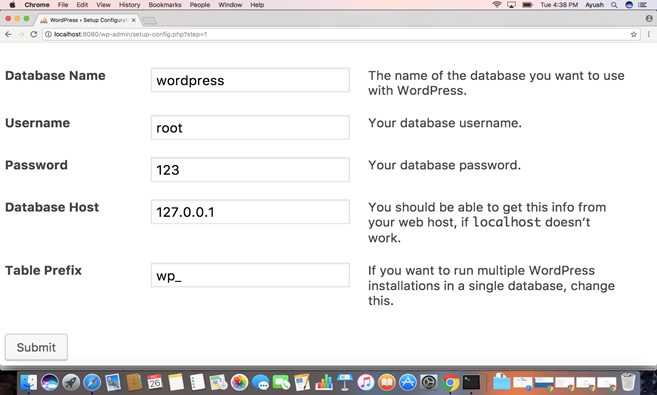
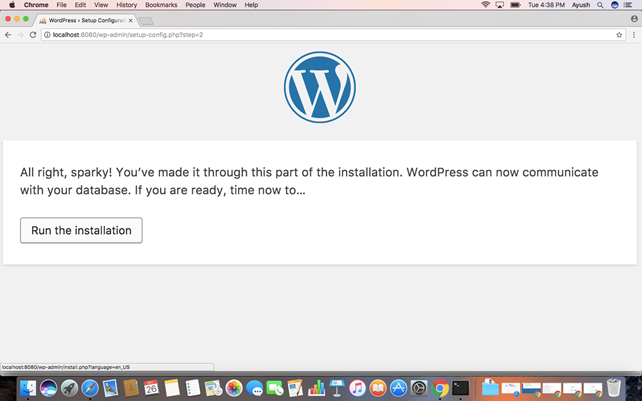
When we submit the database details, the window prompt to enter the website credentials. Fill the website title, email and password and click submit.
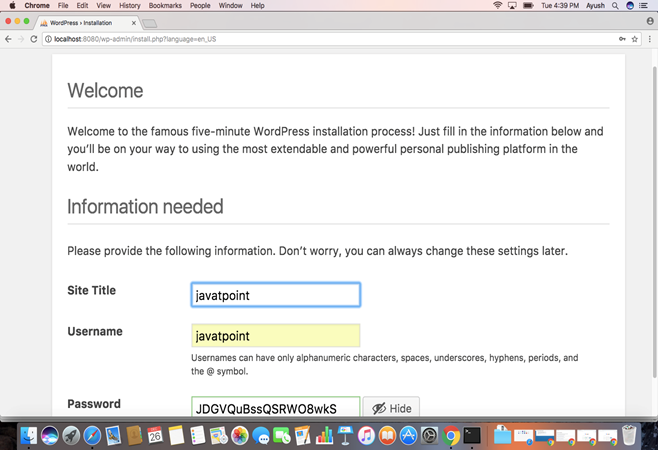
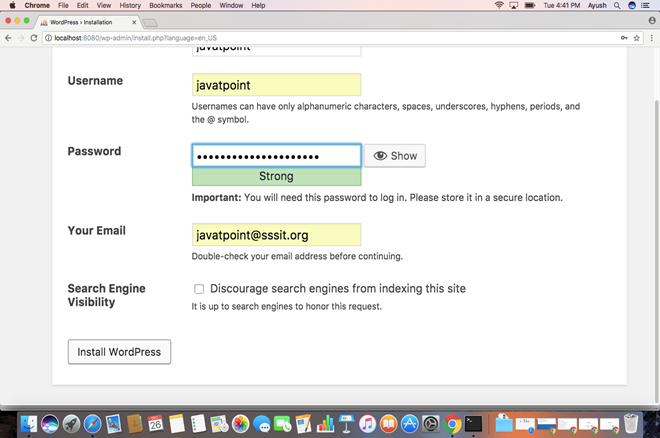
Click install WordPress to install it after filling all the details about the website.
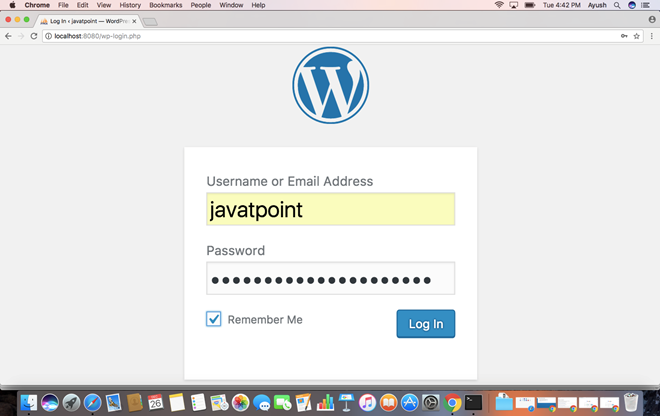
WordPress is installed now. It shows a login prompt window. We must fill the email address or username and the password to login to WordPress.
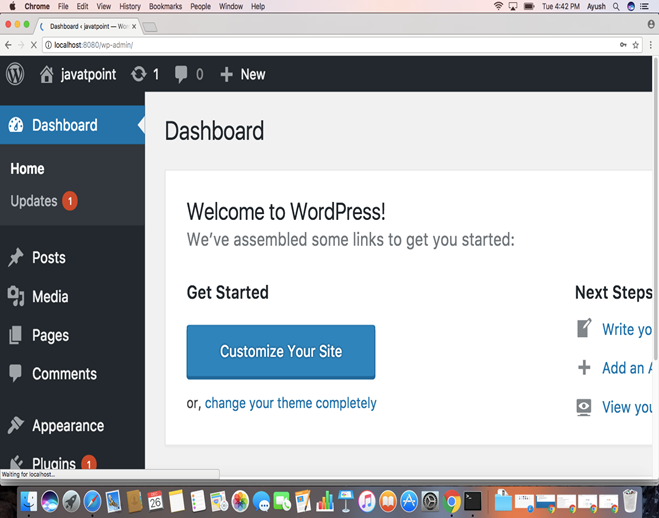
Now we have installed WordPress successfully. Now we can make and customize our websites.