

VLC is an open source, cross platform media player which supports many video and audio compressing methods and file formats. It was developed by VideoLan and first released under GNU public license in February, 2001. In this tutorial, we will learn the process involved in the installation of VLC on MacOS.
Installation includes the following steps.
1) Download the latest VLC version
In order to install VLC on MacOS, we have to download the latest version of VLC by its official website or by simply pasting the link https://get.videolan.org/vlc/2.2.8/MacOSx/vlc-2.2.8.dmg
into the browser's search bar.
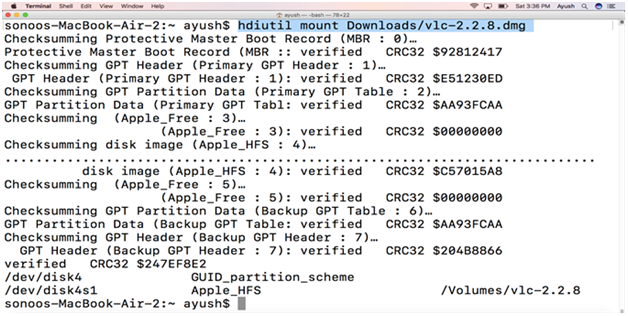
2) Mount the file
The file downloaded from the internet, exists in disk image (.dmg) format. This needs to be mounted to /Volumes directory. This can be done by using simple command.
3) Drag and Drop the Application file
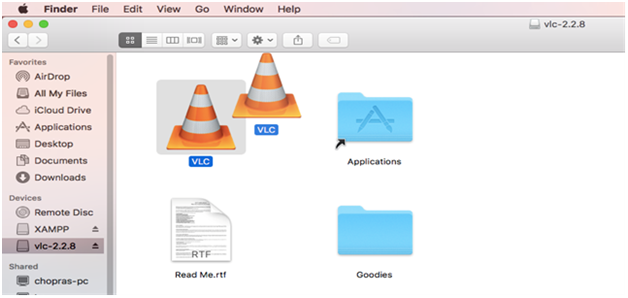
When we mount the disk image file into /Volumes directory, we get an application file(.app)VLC.app stored inside /Volumes/vlc-2.2.8. To properly install VLC in the application directory, we must drag this application file and drop into the Applications directory. The whole process is shown below.
4) Open the Application
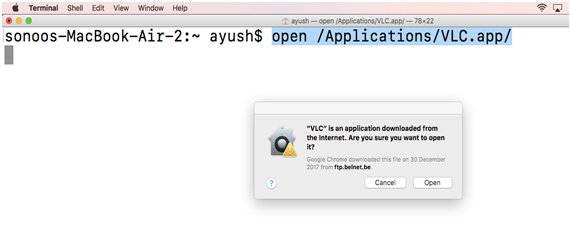
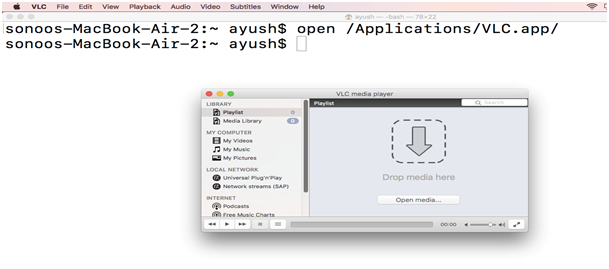
We can open the application by using simple command given below.
5) Unmount the File
Use the following command to unmount the installer file.

Hence, we have successfully installed and get started with the VLC media player. Now, we can play audio and video files by using it.