

Nginx is a web server which can also be used as a HTTP cache, load balancer and reverse proxy. This was first created by Igor Sysoev and released in 2004 under the terms of BSD like license.
In this tutorial, we will learn the steps involved in the installation of Nginx on MacOS.
The installation of Nginx on MacOS involved several steps described below:
1) Update the repository index of Homebrew
To install Nginx on MacOS, we first need to update the repository index of Homebrew Package installer. This can be done via brew update command.
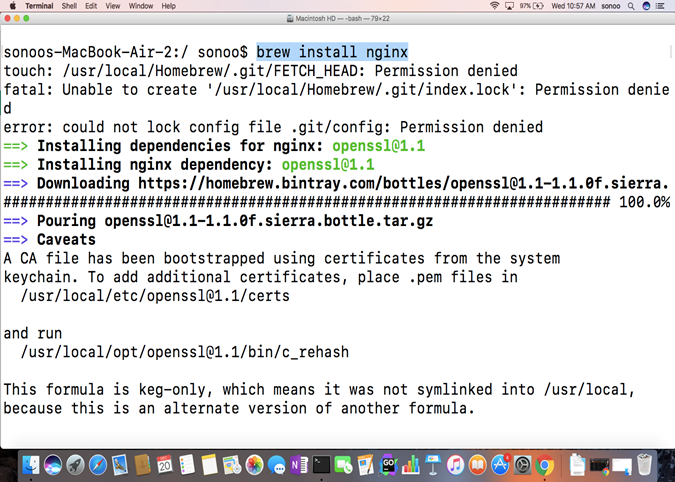
2) Install Nginx
The homebrew package installer installs Nginx web server on the MacOS. To install Nginx, the following commend will get executed:
This will install Nginx web server on the location /usr/local/Cellar. All the executable services with regards to starting and stopping Nginx are stored inside the bin folder of the installation directory.
The web server will listen by default on port number 8080. To start Nginx, either you execute Nginx or launch the service as shown in the image below.

To check whether Nginx is correctly installed on the computer, we may visit the localhost on the browser or get checked with the following command.
The browser will show something like following:
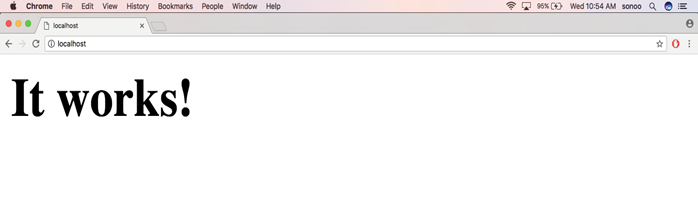
Now we have confirmed that the Nginx is installed properly on our system. To stop the services of Nginx, we may use the following command:
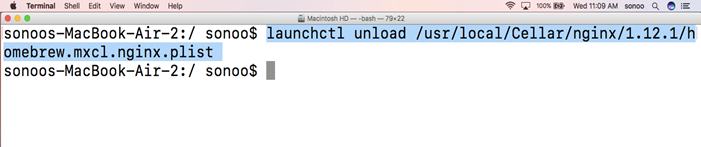
Now, we have successfully installed Nginx on our MacOS.